Design Teams: 3 Phase Design Review Checklist Preserves Decisions
Design Teams: 3 Phase Design Review Checklist Preserves Decisions

Use a phase-based design review checklist. That means one list for preliminary review, a different one for critical review, and a final list before handoff, each with named owners and recorded decisions. Grab a template in Excel, Word, or PDF and adapt it. Teams that split checklists this way catch feasibility problems early and compliance gaps late, which is exactly when each is cheapest to fix.
TL;DR:
- Teams should create separate checklists for preliminary, critical, and final reviews with clear ownership to catch feasibility issues early and compliance gaps late.
- The preliminary review verifies the brief, success metrics, constraints, assumptions, and dependencies, requiring more than two “no” responses to halt progress.
- The critical review confirms interface specifications, material validation, risk mitigation, and test criteria with input from engineers, suppliers, and QA.
- The final sign-off checklist checks file packaging, accessibility, legal compliance, and records formal approval, emphasizing thorough documentation.
- Assigning discipline-specific owners and maintaining an audit trail of decisions prevents rework caused by undefined responsibilities and forgotten rationales.
Table of Contents
- Preliminary Design Review Checklist for Early Concept Work
- Critical Design Review Checklist for Technical Feasibility and Risk
- Final Design Review Checklist Before Handoff and Sign-Off
- Cross-Discipline Design Evaluation Criteria and Who Owns Them
- How to Run a Design Review Meeting That Actually Produces Decisions
- Choosing Checklist Templates and Formats: Excel, Word, or PDF
- Customizing a Design Audit Guide for Your Project’s Risk Level
- Why Documenting Decisions Matters as Much as the Checklist Itself
- What Most Teams Get Wrong About Design Reviews
- Preserve Design Intent With The Intent Ledger
- Sources
Preliminary Design Review Checklist for Early Concept Work
The preliminary review happens in the early design phase, before anyone has sunk real budget into detailed production. The job here is narrow: confirm the brief is still true, and catch wrong assumptions while they’re still cheap to fix. Process Street’s staged approach treats this as a distinct phase from later production checks, and that separation matters. Mixing feasibility questions with font kerning at this stage wastes everyone’s time.
Bring the brief, a rough concept deck, and a short list of assumptions and dependencies you’re leaning on. Invite the client or product owner, the lead designer, and anyone who owns a dependency (a supplier, an engineering lead, a legal contact if the category demands it).
Sample checklist items for this stage:
- Does the concept address the stated objectives and target audience from the brief?
- Are success metrics defined and measurable, not vague?
- Have major constraints (budget, timeline, materials, platform) been logged and flagged?
- Are all assumptions written down, with who needs to confirm each one?
- Has anyone identified a dependency that could block the next phase?
If more than two of these come back “no,” the concept isn’t ready to move forward.
Critical Design Review Checklist for Technical Feasibility and Risk
By the critical review, the design has enough detail that engineers, suppliers, and QA can actually evaluate it. This is where you confirm the thing can be built the way it’s drawn, not just that it looks right. The APS example design review checklist is a useful model here: it walks through functional requirements, stated assumptions, and verification criteria, then asks explicitly whether each assumption is still reasonable given what’s known now.
Bring detailed drawings or specs, a materials list, and any test data you already have. Include engineers, suppliers who’ll actually fabricate or source the work, and QA early rather than after the fact.
Copy these items directly:
- Are interfaces and tolerances between components fully specified?
- Have material choices been validated against cost, availability, and durability requirements?
- Is every open risk logged with a named owner and a mitigation plan?
- Do verification criteria exist for each functional requirement, and are they testable?
- Has anyone re-checked whether the original assumptions still hold?
Final Design Review Checklist Before Handoff and Sign-Off
The final review is a gate, not a conversation. Everything here should be pass or fail, because this is the last checkpoint before files ship to production, print, or a live environment.
- Confirm final-file packaging. Check file versions, naming conventions, metadata, and export formats against the production spec.
- Run accessibility, brand, and legal checkpoints. Verify contrast ratios and alt text, confirm brand guideline compliance, and clear any required legal or regulatory language.
- Record formal sign-off. Capture who approved what, on what date, and store it against the file version it applies to, not a general project folder.
Many strong templates build in an archiving step specifically so version history survives past the handoff, which matters the first time someone asks “which file did the client actually approve?” six months later. Skip this and you’re reconstructing history from email threads.
Cross-Discipline Design Evaluation Criteria and Who Owns Them
A single reviewer cannot competently judge brand tone, WCAG contrast ratios, and contract language in the same pass. Split ownership by discipline, and let each owner sign off independently.
- Brief compliance, owned by the project lead; confirms the work still answers the original problem.
- Brand standards, owned by brand or creative direction; checks logo use, color, typography, and tone.
- Copy accuracy, owned by a copy editor or content lead; checks facts, spelling, and legal phrasing separately from tone.
- Technical specifications, owned by an engineer or technical lead; confirms dimensions, formats, and platform constraints.
- Accessibility, owned by an accessibility specialist where one exists; checks contrast, alt text, keyboard navigation, and screen reader behavior.
- Legal and compliance, owned by legal or compliance, never folded into a general design check.
- Stakeholder approval, owned by whoever holds budget authority for the project.
- Final file delivery, owned by production or project management; confirms formats, naming, and archiving.
A structured checklist across these eight disciplines reduces the variability you get when reviews rely on one person’s general impression instead of specific, answerable criteria. Best practice keeps accessibility and legal reviews independent rather than combined with general design sign-off, since a designer eyeballing contrast ratios isn’t the same as someone testing with a screen reader.
Pro Tip: Run accessibility and legal review in parallel with the design critique, not after it. Sequencing them last is how “we’ll fix it later” becomes “we shipped it broken.”
How to Run a Design Review Meeting That Actually Produces Decisions
Most design review meetings fail for one reason: nobody prepared, so the meeting becomes the first read-through instead of the discussion.
- Send pre-reads 24 to 48 hours ahead. Circulate the artifacts, the specific checklist you’re using, and the success criteria for the meeting itself.
- Timebox the agenda. A workable structure: 5 minutes context, 20 minutes walkthrough, 20 minutes discussion, 10 minutes decisions and next steps. Name a facilitator who owns the clock and keeps discussion from drifting into rework.
- Capture every decision in the same format. Record the decision itself, who owns the follow-up, the deadline, and the acceptance criteria that will prove it’s done.
Clear pre-reads, a named facilitator, and explicit decision capture separate meetings that move projects forward from meetings that just generate more meetings.
Choosing Checklist Templates and Formats: Excel, Word, or PDF
Format follows function. Excel earns its place when you need conditional formatting and status tracking across dozens of line items. Word suits narrative checks where a reviewer needs to explain reasoning, not just check a box. PDF locks a checklist for a fixed, dated sign-off that shouldn’t be edited after the fact.
- Use Excel for anything you’ll track over multiple review cycles.
- Use Word when reviewers need room to write context, not just tick boxes.
- Use PDF for the final sign-off record you never want altered.
- Use a shared form when input comes from a distributed or remote team.
Downloadable Excel, Word, and PDF templates for each phase give you a starting structure without building one from scratch. Keep a master version under version control, and treat any copy in active use as a snapshot, not the source of truth.
Customizing a Design Audit Guide for Your Project’s Risk Level
Not every project needs every item. Decide mandatory versus optional by asking what happens if this specific check gets skipped. If the answer is “a lawsuit” or “the product doesn’t function,” it’s mandatory.
- UX and product teams weight usability testing and accessibility heavily; architecture and engineering weight tolerances, materials, and code compliance instead.
- A technical drawing checklist built for architecture looks nothing like one built for a marketing microsite, and that’s correct.
- Review and update your checklist quarterly. A living checklist that never changes has stopped reflecting how your team actually fails.
Why Documenting Decisions Matters as Much as the Checklist Itself
A checklist tells you what got checked. It rarely tells you why a decision went the way it did, and that gap is where most rework starts. Someone asks in month four why a material was swapped, and nobody remembers the tradeoff that was discussed in a meeting nobody wrote down.
Every decision worth recording needs the same minimum fields:
- The decision itself, stated plainly
- The source conversation or meeting it came from
- The owner responsible for it
- The deadline or milestone it’s tied to
- Any unresolved question still hanging off it
Turning a checklist into an enforced workflow with a clear audit trail removes the “I thought someone checked that” failure mode, because approval steps replace assumptions with a record.
Pro Tip: Don’t rely on meeting notes alone. A tool that turns transcripts and critique feedback into structured, source-linked decision records catches the rationale that a bullet point on a slide never captures.
What Most Teams Get Wrong About Design Reviews
Three failure modes show up constantly. First, teams run one review instead of three, cramming feasibility, technical risk, and compliance into a single meeting where nothing gets proper attention. Second, nobody owns a discipline explicitly, so accessibility and legal checks quietly fall through. Third, decisions get made verbally and never written down, so the same argument resurfaces weeks later.
The fix isn’t more meetings. It’s clearer gates, named owners per discipline, and a habit of writing down not just what was decided but why. Treat your checklist as something you revise after every postmortem, not a document you laminate once.
, Rajas
Preserve Design Intent With The Intent Ledger
A checklist tells you what passed. It doesn’t tell you why a material got swapped in week three or what tradeoff justified skipping an accessibility pass on one screen. The Intent Ledger closes that gap: it’s project memory software that turns meeting transcripts, critique feedback, and client comments into structured ILM Records, source-backed and traceable back to the exact conversation a decision came from.
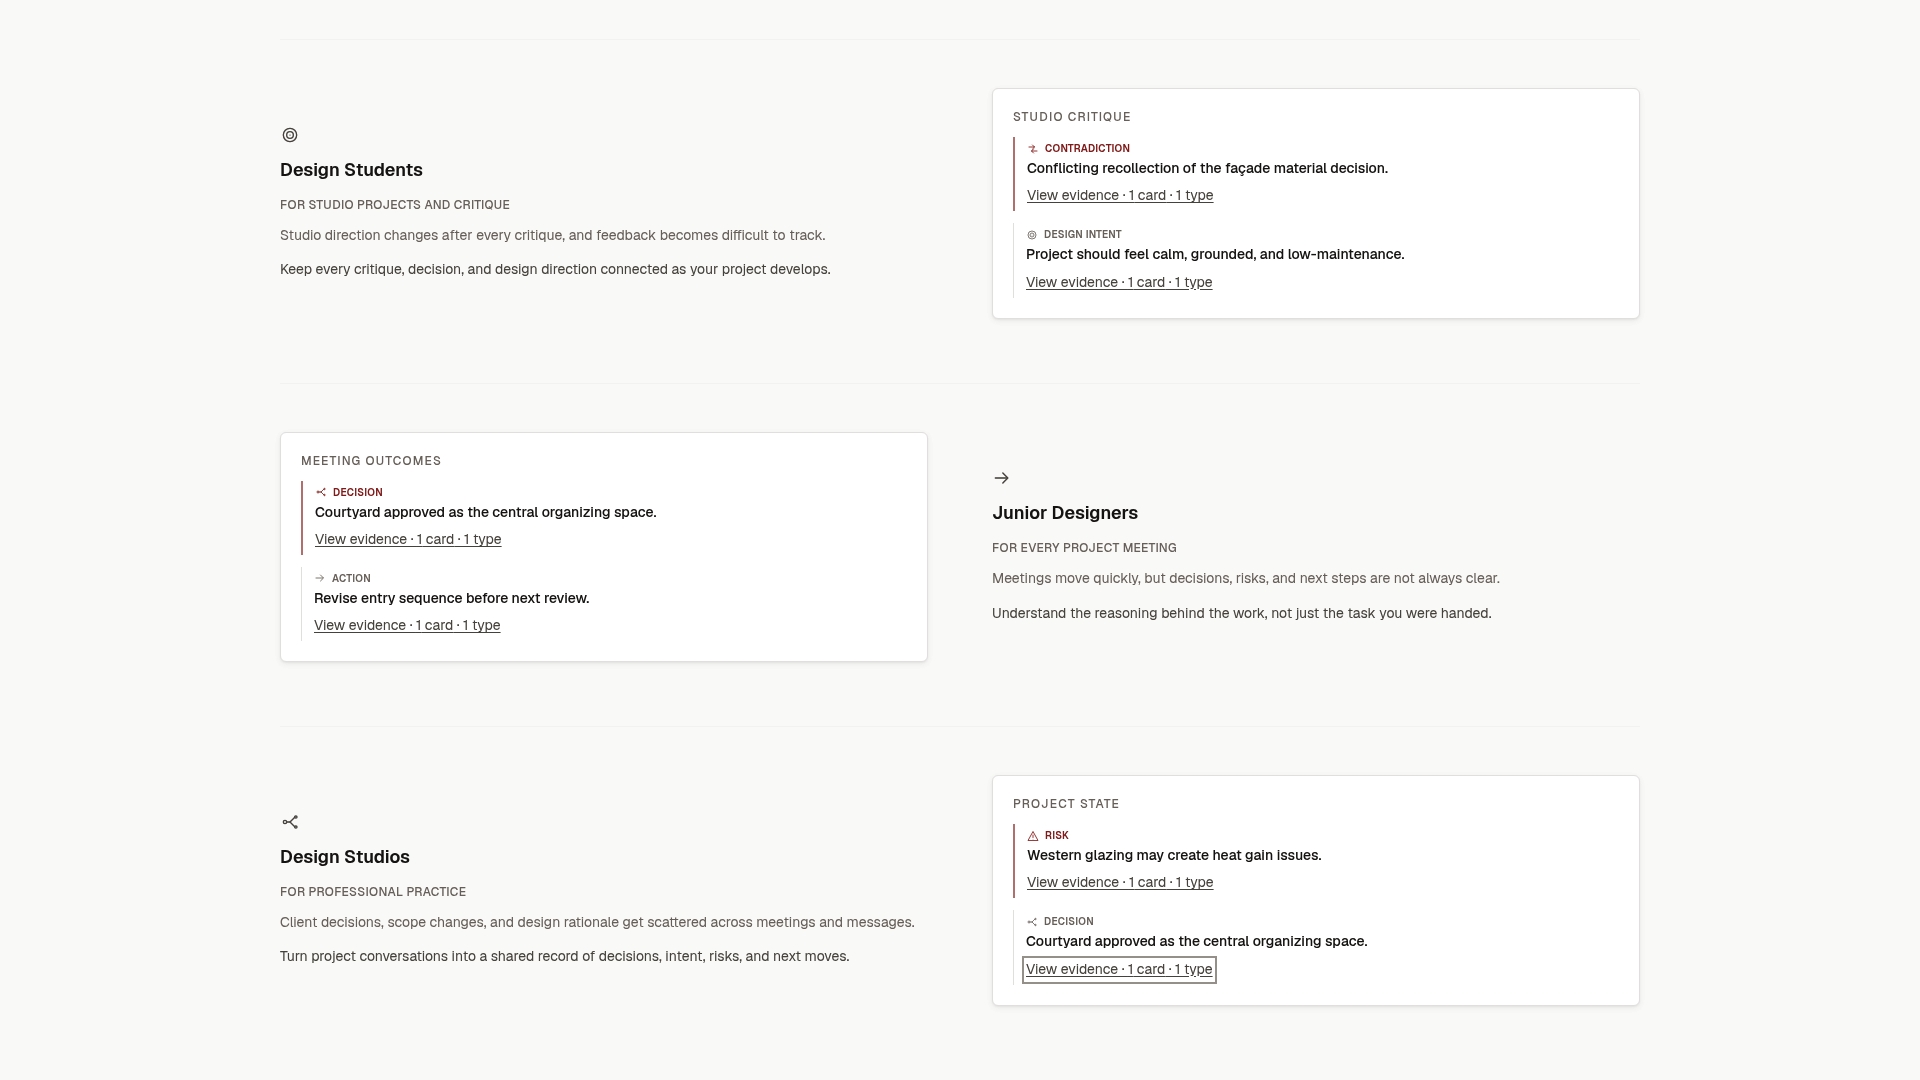
Checklists work best when the reasoning behind each answer is preserved, not just the pass or fail mark. If your team keeps re-litigating decisions because nobody remembers the “why,” a checklist alone won’t fix that. Pair your phase-based reviews with a system built to hold the context. Visit The Intent Ledger to start a trial and see how ILM Records work on your next project.