Design Risk Identification Methods for Engineering Teams
Design Risk Identification Methods for Engineering Teams

Design risk identification is the process of locating where a design decision could fail, why it might fail, and what happens downstream if it does. The immediate action is simple: open a traceable risk record for your next major design decision before the meeting ends. Frameworks like ISO 31000 and CDM 2015 exist precisely because verbal agreement disappears the moment the meeting room empties.
TL;DR:
- Continuous risk identification at every design milestone prevents high-cost fixes during construction.
- Using interface matrices, assumption checklists, and cross-discipline workshops improves detection of indirect and soft hazards.
- Prioritize risks on a likelihood versus severity matrix, focusing immediate action on high-likelihood, high-impact issues with clear owners.
- Maintaining a traceable risk record linked to decision sources, assumptions, and review dates ensures ongoing risk management and accountability.
- Treat risk tracking as an ongoing habit with regular reviews at milestones and in-between, rather than a one-time event.
Table of Contents
- What Design Risk Identification Means for Your Design Phase
- Which Methods Actually Surface Design Risks?
- How Do You Score and Prioritize Design Risks?
- The Soft Hazards Your Risk Matrix Won’t Catch
- Making Risk Capture Part of the Daily Workflow
- What Belongs in a Risk Register or Handover Note?
- How Often Should You Revisit the Risk Register?
- What Most Teams Get Wrong About Risk Identification
- A Simpler Way to Keep Design Risk Records Traceable
- Sources
What Design Risk Identification Means for Your Design Phase
Design risk identification is the systematic process of discovering where a system, product, or process could fail during its lifecycle, and finding those issues earlier lets teams select mitigation actions with a far better cost to benefit ratio than fixing the same problem after construction begins. ISO 31000 frames risk as the effect of uncertainty on objectives, which matters because it shifts the conversation away from “what could go wrong” and toward “what could stop us from hitting the brief.”
A fix made during schematic design might cost an hour of redrawing. The same fix discovered during construction can mean demolition, delay claims, and a very uncomfortable phone call. That gap is why risk identification isn’t a phase gate you clear once. It’s a habit you run at every milestone.
- Concept design: identify risks tied to program, site constraints, and unproven assumptions about client intent.
- Schematic design: identify risks in system interfaces, structural approach, and code compliance strategy.
- Detailed design: identify risks in specification, tolerances, buildability, and coordination between disciplines.
- Continuous checks: revisit prior risk records whenever a decision upstream changes.
Skipping any one of these stages doesn’t eliminate the risk. It just delays discovery until the moment it’s most expensive to fix.
Which Methods Actually Surface Design Risks?
Different risk types hide in different places, so no single technique catches everything. The methods below cover technical interactions, human assumptions, slow-moving trends, and catastrophic failure modes, roughly in order of how often you’ll reach for them.
-
Interface matrix or Design Structure Matrix (DSM). Map every component or discipline against every other one in a grid, then mark where interfaces exist. This surfaces indirect risk: a mechanical duct routed near a structural beam might carry low direct risk on its own, but interface criticality is really a function of both direct risk and propagation potential, meaning a minor issue next to a major one can cascade. Use the matrix at schematic design, when interfaces are still fluid enough to redesign around.
-
Assumption checklist. List every assumption baked into the current design (soil conditions, vendor lead times, code interpretation, client budget ceiling) and mark which ones are verified versus guessed. Walk the list with stakeholders before locking in the next design pass. A common item: “assumes structural engineer confirmed load path” when nobody actually asked them.
-
Trend and operational-drift analysis. Watch data sources like manufacturer recall notices, past project punch lists, or maintenance logs from similar buildings. A pattern of repeated failures on a specific detail (a flashing type, a connection style) is a signal worth flagging even if no single instance looks alarming yet.
-
FMEA, HAZOP, or fault-tree analysis. Reach for a structured technique like Failure Mode and Effects Analysis or Hazard and Operability studies when the system is safety-critical or the failure modes aren’t obvious from experience alone. The output is a ranked list of failure modes with causes, effects, and detection methods, which is more rigorous than a workshop but takes longer to run.
-
Cross-discipline workshops and constructability reviews. Bring structural, mechanical, and the contractor into the same room before drawings are final. CROSS safety guidance recommends approaching hazard identification from several angles at once, including the nature of the design, how it will be constructed, and its eventual state in use, because a single-discipline review misses hazards that only show up at the boundary between trades.
Pro Tip: Rotate who facilitates the review workshop each milestone. A facilitator who owns a discipline tends to steer discussion toward risks in someone else’s scope and skip their own.
The most common mistake across all five methods isn’t picking the wrong one. It’s running the review once and never returning to it as the design changes underneath the original findings.
How Do You Score and Prioritize Design Risks?
A risk-assessment matrix plotting likelihood against severity remains the fastest way to turn a long list of hazards into a short list of priorities. Plotting each item on this grid helps focus mitigation effort on what’s genuinely high-impact or high-likelihood, rather than letting a loud but low-priority risk eat the team’s attention.
Set both axes against your actual project objectives, not a generic template:
- Likelihood scale: adapt the labels to your project type. A 1 to 5 scale works for most, but a fast-track project might compress it to “unlikely, possible, expected.”
- Severity scale: tie each level to a real consequence. “Minor” might mean a design revision under two hours; “critical” might mean a life-safety failure or a six-figure change order.
- Threshold rule: anything landing in the top-right corner (high likelihood, high severity) gets a named owner and a deadline before the meeting ends. Anything in the bottom-left gets logged and revisited at the next milestone, not chased immediately.
Not every risk deserves a number. When you genuinely don’t know enough to score likelihood with confidence, say so rather than forcing a fake precision. Tagging a risk’s confidence level, even with a rough point estimate, materially improves how the team prioritizes and stays aligned on what’s actually known versus assumed.
A risk scored “high likelihood, unknown severity, low confidence” is more useful to a project manager than one scored “medium, medium” out of habit. The first tells you where to spend investigation time. The second tells you nothing.
The Soft Hazards Your Risk Matrix Won’t Catch
Not every design risk shows up as a clash in a model or a stress calculation. Practitioners routinely overlook soft hazards, the risks that come from how the team communicates rather than what it builds.
- Communication gaps: a decision made in a hallway conversation never makes it into the formal record, and the next person to touch the drawing assumes the old rationale still applies.
- Unchecked assumptions: someone assumes a junior team member confirmed a code requirement when they only skimmed it.
- Over-reliance on tools: a clash-detection report gets treated as a complete risk audit when it only catches geometric conflicts, not sequencing or safety-in-use issues.
The fix isn’t a better checklist. It’s earlier cross-discipline review and a habit of recording decisions somewhere visible, because soft hazards rarely have an obvious corrective once you’re on site. Bringing the contractor in early, before design is frozen, and assigning a named point owner for each risk category are the two coordination practices that consistently catch soft hazards before they harden into problems. If you’re weighing procurement models that affect how early that coordination happens, a design-build arrangement changes the coordination timeline compared to a separate contractor model.
CDM 2015 gives a useful regulatory model here, even outside the UK jurisdiction it governs. Under CDM 2015, designers must identify, evaluate, and reduce design-related risks, and communicate any residual risk that couldn’t be eliminated to the people who’ll build and use the structure. Whatever jurisdiction you work in, that three-step obligation, identify, reduce, communicate, is worth adopting as internal practice even when no regulator requires it.
Making Risk Capture Part of the Daily Workflow
A risk workshop that happens once at kickoff produces a document nobody opens again. Risk identification only works as an ongoing habit, and a 2025 study of 14 engineering teams found that groups using structured traceability tools identified technical risks caused by indirect interactions sooner than teams relying on memory or scattered notes. The advantage compounds when the tool gets used early and consistently, not dusted off right before a milestone review.
A workable risk record needs to capture more than the hazard itself:
- The decision it’s attached to, with the rationale behind it and who made the call.
- The assumptions underneath that decision, flagged as verified or unverified.
- An assigned owner, not “the team,” because unowned risks don’t get closed.
- Mitigation options considered, even ones you rejected, so the next reviewer understands why.
- A link back to the source conversation or document, so nobody has to reconstruct context from memory six months later.
- A review date, so the record doesn’t quietly go stale.
Pro Tip: Schedule risk-log review as a fixed five minutes at the start of every design coordination meeting, not as a separate meeting nobody attends. Risks reviewed as a habit get closed faster than risks reviewed as an event.
What Belongs in a Risk Register or Handover Note?
A design risk register earns its keep only when the fields inside it are consistent enough that anyone on the team can read a record cold. At minimum, each entry needs the risk description, likelihood and severity score, owner, mitigation status, and a residual-risk statement, something like: “Risk of water ingress at parapet reduced through detail revision; residual risk of workmanship error remains, communicated to contractor at handover.”
For handover to contractors or operations teams, strip the register down to what they actually need to act on:
- Open risks with current status and owner.
- Residual risks that couldn’t be designed out.
- Assumptions the design relied on that the receiving team should verify on site.
Keep every version of the register dated and archived rather than overwritten, since a minimal viable risk record needs to link the risk back to the decision that introduced it, including who made the call and when, specifically to stop the same risk from recurring after staff turnover or design changes.
How Often Should You Revisit the Risk Register?
Review cadence matters more than review depth. Check the register at every formal milestone, plus a lighter pass at each coordination meeting in between.
- At each milestone (concept, schematic, detailed design): full review, close resolved items, re-score anything that’s changed.
- Between milestones: quick scan for anything triggered by new information.
- Immediate triggers that force re-identification: a scope change from the client, new information from a vendor or supplier, or a previously verified assumption turning out to be wrong.
- Closing an item: don’t delete it. Reclassify it as closed or residual, and record why, so the reasoning survives even if the person who closed it moves on.
What Most Teams Get Wrong About Risk Identification
The recurring failure isn’t a missing method. It’s treating risk identification as an event instead of a habit, running one workshop at kickoff and never returning to the register once drawings start moving fast. The second most common failure is scoring severity without ever tagging confidence, which quietly turns a guess into something the whole team treats as fact.
Run this before your next design review: name the decision, name the risk, name the owner, score likelihood and severity, tag your confidence, set a review date. Six items, five minutes, done consistently beats a perfect matrix used once.
, Rajas
A Simpler Way to Keep Design Risk Records Traceable
Most risk registers fail for a boring reason: nobody can remember which conversation produced which entry six months later, especially once a team member leaves or a client changes their mind about a decision made in passing. Theintentledger turns the meetings, transcripts, and client comments you already generate into structured ILM Records that trace every design risk straight back to the conversation it came from, so you’re not reconstructing rationale from memory during handover.
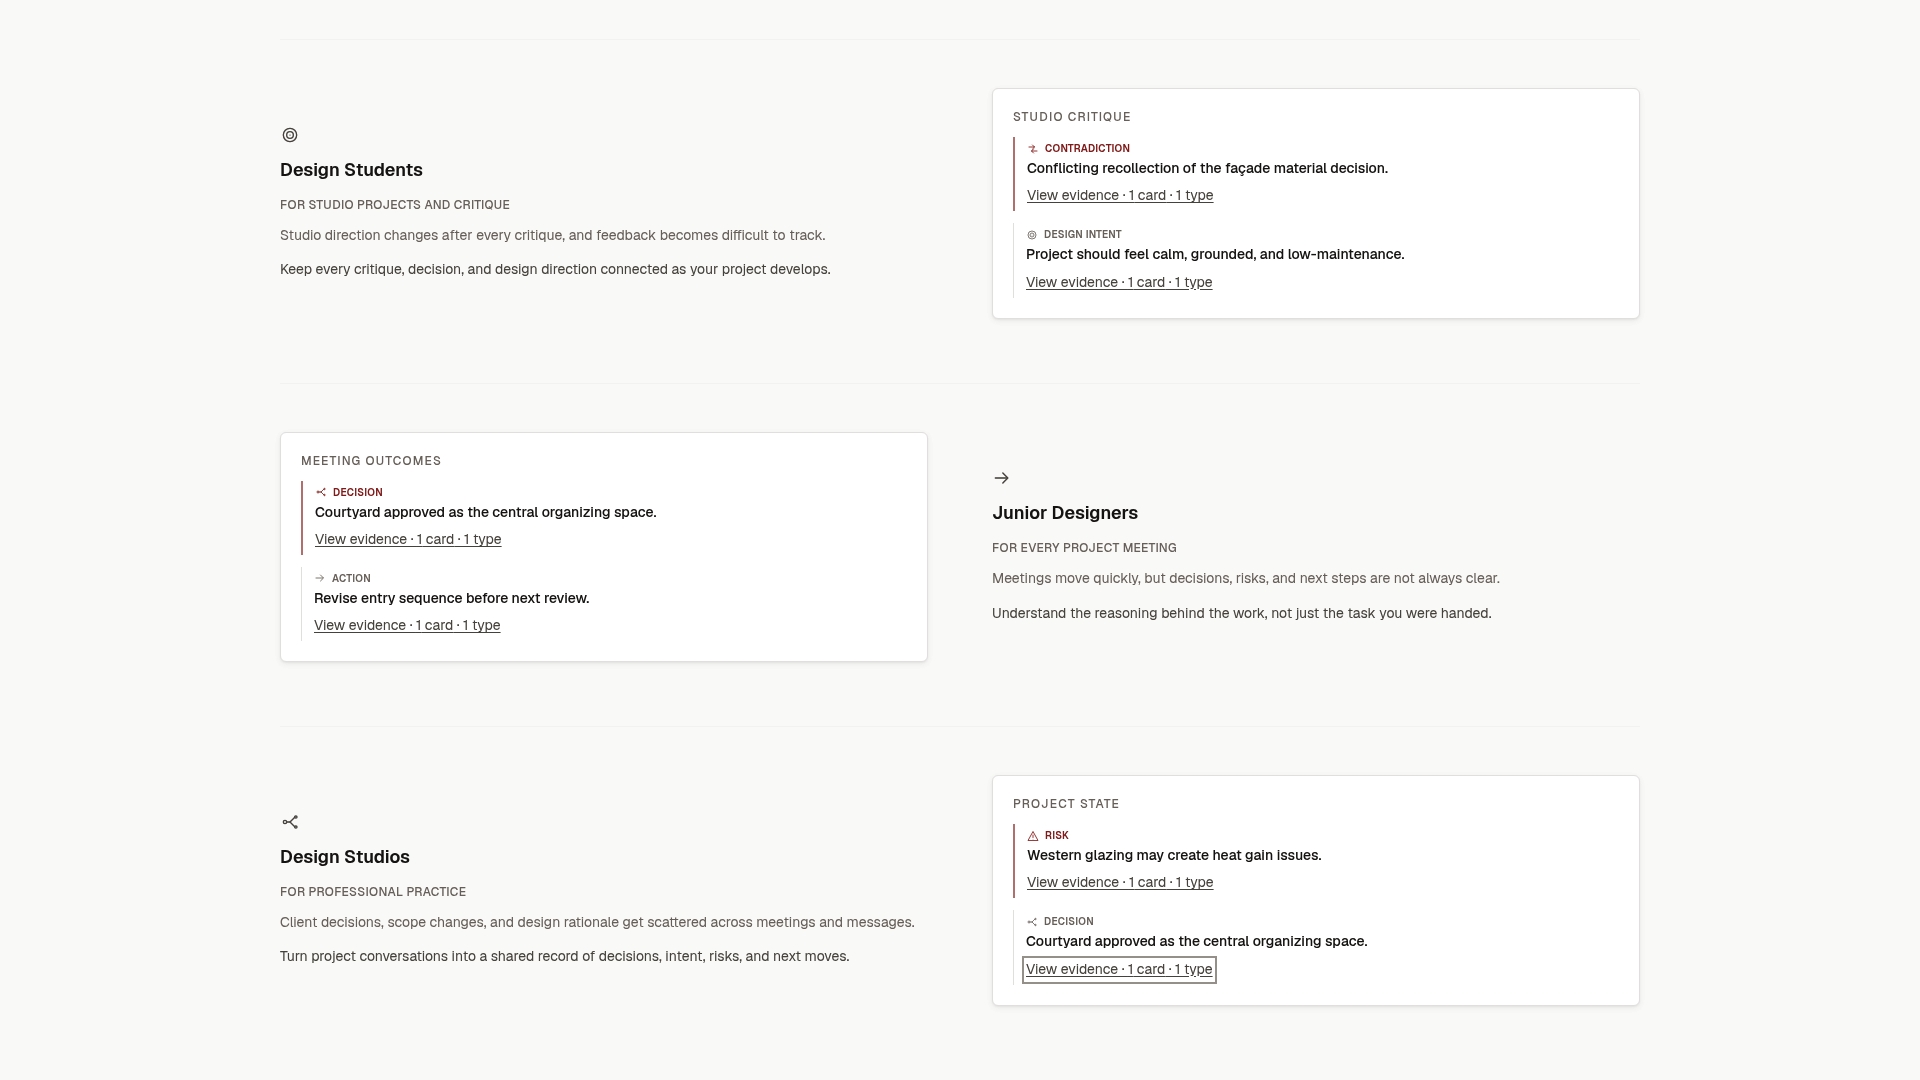
That matters most on projects where staff turnover is likely, regulatory exposure is real, or the design cycle stretches long enough that early assumptions get forgotten before construction even starts. Instead of a static spreadsheet that goes stale, each risk record stays linked to its source, its owner, and its review date. If your team is still tracking design risks in scattered notes and hallway conversations, start a free trial with The Intent Ledger and turn your next project review into a traceable record instead of a memory you’re hoping someone wrote down.
Sources
- Design Risks: How to Assess, Mitigate, and Manage Them
- Managing technical risks caused by indirect interactions: insights from tracking the use of risk assessment tools
- Designers: Construction (Design and Management) Regulations 2015 (HSE)