Student Design Journal: What to Record and Why
Student Design Journal: What to Record and Why
A student design journal works when it records the process, not only the result: what you tried, why you chose it, what feedback changed it and what is still unresolved. Sketches are the easy part. The hard part is the reasoning that happens out loud, in crits, tutorials and client calls, because it is gone by the time you open the sketchbook. This guide covers what to put in each entry, how to log iterations and critique, and how to keep every decision traceable to the conversation it came from with ILM Records from The Intent Ledger.
TL;DR
- A design journal is a running record of your work as it develops, so you can reconstruct, interpret and evaluate it later.
- Every entry should answer five questions: what you did, why, what happened, what you learned and what comes next.
- Decisions made in critiques and conversations are the ones most often lost. Capture them the same day, with the source.
- Date every decision and keep a visible list of open questions and actions.
- We turn conversations, notes and transcripts into source-backed ILM Records, so the why behind a decision stays attached to where it was said.
Table of Contents
- What a design journal is for
- What belongs in an entry
- Recording sketches, iterations and models
- Capturing critique and tutorial feedback
- Tracking actions, open questions and changes of intent
- Turning a journal into something you can show
- Example entries you can adapt
- Where a notebook stops and project memory starts
- A weekly routine that fits a studio schedule
- Our perspective
- Start your first ILM Record
- FAQ
- Sources
What a design journal is for
A design journal, also called a design notebook or process journal, is the documentation of a project’s details as they happen. The WAC Clearinghouse guide to project notebooks describes it as holding sketches, information from books, discussions and meetings, and your own thoughts, with the main purpose of recording work as it progresses so it can later be reconstructed, interpreted and evaluated.
That last word matters for students. In many courses the journal is assessed. A Georgia Tech paper on the engineering design log reports that process documentation is used as a teaching tool to assess how a student reached a solution, separately from the finished artifacts. Keeping detailed records of decisions and thought processes also lets you review your own work later and helps others follow it.
A journal also pays off beyond grades. A reflective journal guide from Virtual Learning Studio lists benefits including focusing your thoughts, experimenting with ideas, mapping complex issues, and reflecting on the processes behind your experiences.
For architecture students the journal has one more job. It is the place where a half-formed idea survives long enough to be revisited. An architecture journal guide on ArchiMash says a journal keeps everything in one place and becomes an easy reference for going back to an idea, something you tested, or the thinking that led to a final design.
What belongs in an entry
The most common mistake is recording outcomes only: the final plan, the clean render, the finished model. NYU’s Ideation & Prototyping course says process documentation should capture how the work developed, not simply how it ended. Its list of what to include is a good checklist for any studio course:
- research and precedents
- field notes and photographs
- brainstorming and early concepts
- material and digital experiments
- prototypes and iterations, including the awkward ones
- things that failed or changed direction
- critique and feedback that affected the work
- decisions and their reasoning
- unresolved questions
- discoveries that suggest next steps
Notice how much of that list is not a drawing. Decisions, reasoning, feedback and open questions are all things people say, hear and agree to in conversation. They are also the items students most often skip, because writing them down feels slower than sketching.
Five questions for every entry
NYU also gives a prompt set for each substantial experiment or stage: What did I do? Why? What happened? What did I learn? What next? It is short enough to use after every studio session. Here is how those prompts turn into a usable entry (an illustrative example, not a real student’s work):
| Prompt | Sample entry |
|---|---|
| What did I do? | Tested three massing options for the library courtyard in card and in sketches. |
| Why? | The tutor asked last week how the building would handle afternoon sun on the west side. |
| What happened? | Option B shaded the reading terrace but blocked the view to the park. |
| What did I learn? | Shading and views pull in opposite directions on this site, so one has to lead. |
| What next? | Decide which one leads, then test a stepped version of B. |
Five lines, two minutes, and a future you can see exactly how the idea moved.
Add the fields that preserve the reasoning
If you want an entry to survive a month of other deadlines, borrow from professional decision logs. Microsoft’s Engineering Fundamentals Playbook tracks each key decision with a one-sentence summary, the date, the alternatives considered, a two-to-three sentence reasoning summary, who made the decision and the work it requires. For a student, a trimmed version is enough:
- Decision: one sentence.
- Date: at least the month, ideally the day.
- Alternatives you considered: two or three.
- Reason: two or three sentences, including the trade-off you accepted.
- Who said it: you, a tutor, a classmate or a client.
- What it requires next.
One more rule from a design-system decision-record template on GitHub is worth keeping: never infer a rationale. A plausible reason nobody actually gave is worse than a visible gap, because later readers treat it as fact. If you do not know why a choice was made, write ‘reason not recorded’ and ask.
Recording sketches, iterations and models
Sketching is evidence of thinking, so the journal should show it. The University of Melbourne’s Studio Gamma journal brief states that good design comes from a rigorous process of iteration through cycles of sketching, diagramming, modelling and drawing, and that the journal shows weekly exercises as design in progress.
Practical habits that follow from the sources:
- Write for yourself, and often. The Virtual Learning Studio guide recommends an informal voice, a mix of hand-made and digital work, and recording not just what happened but your reflection on the process.
- Keep rough work. ArchiMash advises sticking in sketches even when they are unfinished, along with diagrams, mind maps, photographs of rough and working models, and tests of presentation techniques.
- Show versions side by side. Three snapshots of the same idea at different stages prove you can iterate, and a short note on what you kept and dropped explains why.
- Question your own assumptions. An entry that says ‘I assumed the stair had to be central, but why?’ is worth more than a tidy sketch.
Whatever you add, label it. A photographed model with no date and no caption is a pretty picture; with a date and a two-line note it becomes a record.
Capturing critique and tutorial feedback
Critique is where a project changes direction, and it is where journals are weakest. Feedback arrives fast, you are busy defending the work, and the spoken reasoning behind a comment rarely makes it onto paper.
ArchiMash suggests several ways to capture it: photograph marked-up pinned drawings, copy whiteboard examples by hand, take your own notes rather than relying on slides, and record class or group discussions, asking permission before you record anyone. Do that, then within a day turn the raw material into entries that answer four questions:
- What exactly was said, and by whom?
- What did the comment mean for the project?
- Did you act on it, and if not, why not?
- What question did it leave open?
Step 3 is the one that earns marks. A tutor reading your journal wants to see that feedback changed the work or that you consciously chose not to follow it. A project journal feedback document from TU Delft shows how this reads in practice: the tutor praised a journal for catching the messy, iterative character of a design process, yet asked for a clearer introduction for someone new to the studio and a more reflective conclusion. Capturing the process is the base. Explaining it is what finishes the journal.
If you want a fuller process for turning feedback into a record, our posts on the design feedback session and the design review process go through it step by step.
Tracking actions, open questions and changes of intent
A journal that only looks backward misses half its value. The other half is a live list of what is unresolved and what you have promised to do.
Andrew Woods, writing about project design logs, argues that a log should capture decision points rather than only results, record at least the year and month of each decision, use an objective tone, and be easy enough to maintain that people actually update it. His reasoning on dates carries over to a semester: the same question can be answered differently three weeks later, and the date tells you what you knew when you decided.
A simple way to apply it:
- Keep a running open questions list at the front of the journal. Cross items off with the date and the answer.
- Keep an actions list with the source of each one: ‘Redraw section A, from Thursday’s crit.’ An action with no origin is hard to prioritize.
- When your concept shifts, write a short entry that says what the intent was, what it is now and what caused the change.
That last entry is the one most students skip and most tutors want to see. David Attenburrow’s paper on the design decision trail argues that a high-quality trail promotes high-quality feedback, helps student and tutor understand the depth and breadth of a project, and can form the basis of assessment presentations. He also notes that haphazard recording loses the value of the whole story.
The same habit scales to professional work. If you later move into a studio or freelance practice, design intent documentation and decision making documentation are the same discipline with higher stakes.
Turning a journal into something you can show
A raw journal is for you. An edited one is for assessors, employers and clients. Attenburrow suggests the trail can be edited for readers such as clients or potential employers, and describes one-page versions sent to external contacts to invite interest and advice. A paper on documenting and disseminating design process notes that in one undergraduate visual communication program students submit an edited, annotated process journal with each project, including only what tells the story of the process.
Editing is much easier when the raw entries already carry dates, reasons and sources. To decide what to include as a project develops, the content design principles are a handy reference for choosing what earns a place on the page.
For a portfolio page on one project, pick the three decisions that changed the design most and show, for each: the options, the feedback or evidence that pushed you, and what you chose. That structure reads as judgment, which is what reviewers are looking for.
Example entries you can adapt
These are illustrations written for this article. Swap in your own project.
Iteration entry
12 March. Courtyard massing, round 2. Tried a stepped version of option B. Western terrace now gets shade until 4 pm in my sun-path sketch, and the park view survives from the upper level. Learned: stepping solves the conflict only above the second floor. Next: test the ground-floor reading room against the same sun path.
Critique entry
14 March, desk crit with the studio tutor. Comment: the entrance feels like an afterthought compared with the courtyard. My read: the circulation has no clear arrival point. Action: redraw the ground plan with a defined entry sequence. Open question: should the courtyard or the entrance lead? Decision deferred until Friday.
Change-of-intent entry
19 March. Original intent: a quiet courtyard as the heart of the library. New intent: the entrance sequence leads, and the courtyard supports it. Cause: Thursday’s crit and my own sun-path test. Trade-off accepted: a smaller courtyard.
The pattern in each is the same: a date, what happened, the reason, the next step. If you can read the entry in six months and rebuild the thinking, it did its job.
Where a notebook stops and project memory starts
Paper and files are great for sketches and reflection. They struggle when the decision was spoken: a client call, a long review, a group meeting recorded on your phone. Writing it up by hand takes time, details drift, and weeks later nobody can say where a requirement came from.
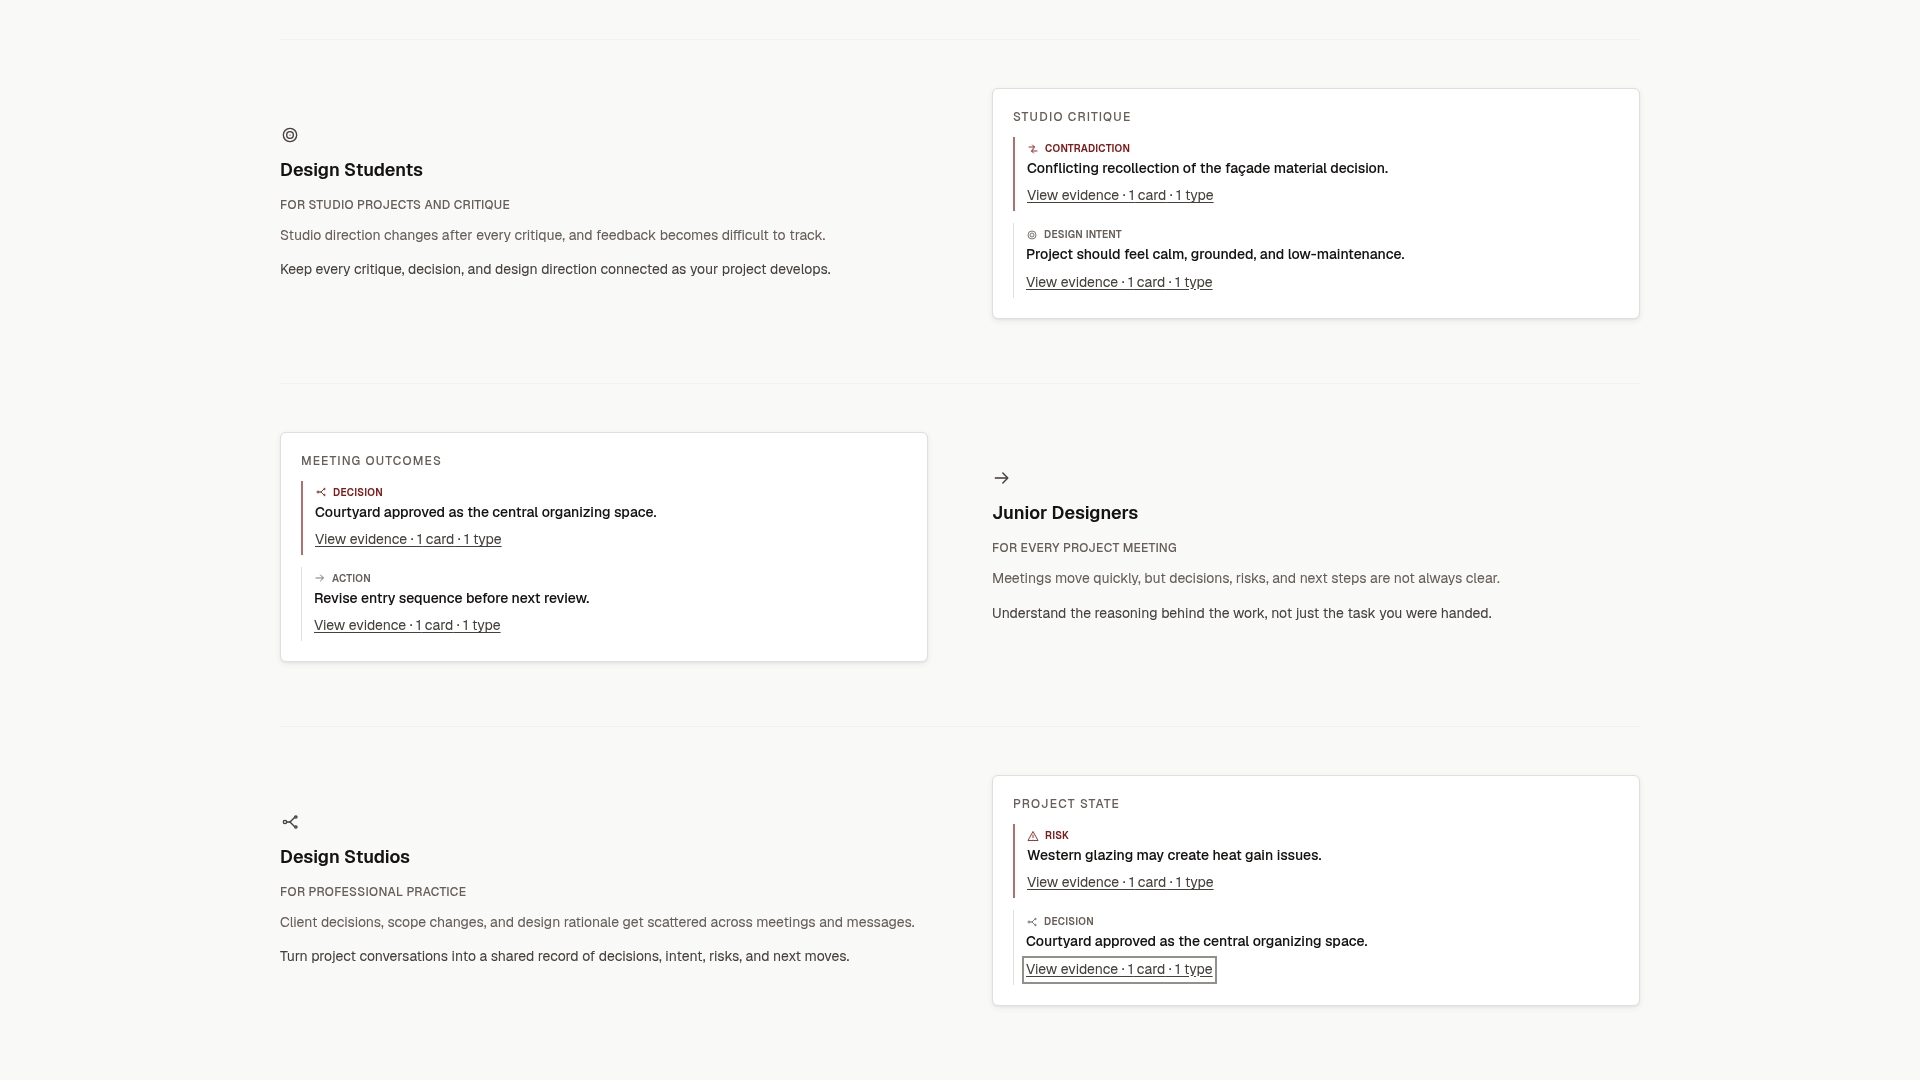
That gap is what we built for. The Intent Ledger turns project conversations, meeting notes, audio recordings, transcripts, critique feedback and client comments into ILM Records: structured, source-backed records of decisions, design intent, risks, actions, commitments and unresolved questions. Each one is traceable to the original conversation. It is the same set of fields this article recommends for a journal entry, with the source attached.
If you want to see what fields a good record holds, our design documentation template and our guide to a project diary for design projects walk through them. For studio-level practice, the tags on design documentation best practices, design documentation standards, architectural design documentation and design project evaluation collect more.
A weekly routine that fits a studio schedule
Consistency beats thoroughness. A routine you keep is better than a perfect system you abandon, which is Woods’s point about keeping a log easy to maintain.
- After each studio session (five minutes): answer the five questions for the main thing you did. Photograph any sketch or model and caption it.
- Within 24 hours of a crit or meeting (ten minutes): write the feedback, the decision, who said it and the action. If you recorded it with permission, note the timestamp for anything important.
- Weekly (fifteen minutes): update the open questions and actions lists. Cross off what is done. Mark any change of intent.
- At each milestone (thirty minutes): pick the entries that tell the story and edit them for the reader who will assess them.
Step 2 is where most journals break down, because that is when you are tired and the conversation is already fading. It is the step we designed ILM Records around.
Our perspective
Most advice on design journals is about what to draw. We think the more valuable habit is what to remember about why.
A drawing shows the result of a decision. It rarely shows the conversation that produced it: the tutor’s objection, the client’s constraint, the trade-off the team accepted on a Tuesday afternoon. Six weeks later the drawing is still there and the reason is not, and the next person to touch it, often you, has to guess.
That is why The Intent Ledger exists. We preserve the reasoning behind design decisions by linking each one to the conversation it came from. A student can trace a task back to the critique that caused it. A junior designer can see where an instruction originated. A freelance architect can point to what the client actually said. A studio can keep continuity when people change.
The habit is the same at every scale: record the decision, the reason and the source while the conversation is fresh. ILM Records make that habit fast enough to keep.
Rajas
Start your first ILM Record
If your journal currently holds sketches but not the conversations behind them, ILM Records are the missing layer. Our one-off packs start with the Working Set at $12, with the Project Record at $29, the Practice Memory at $59 and the Studio Ledger at $119 for larger bodies of work. Monthly plans are Working Memory at $29 per month, Living Record at $79 per month and Shared Ledger at $149 per month for teams that keep creating records. See all options on the pricing page, or read more at The Intent Ledger.
FAQ
What should a student design journal include?
Include research, sketches, iterations, models, critique feedback, decisions with their reasons, unresolved questions and next steps. NYU’s guidance also asks for failures and changes of direction, not just polished outcomes. Date everything and caption every image so each page makes sense on its own.
How is an architecture student journal different from a regular sketchbook?
A sketchbook holds drawings. A journal also holds the reasoning around them: why you chose a scheme, what a tutor said, what you tested and what changed. Course briefs such as Melbourne’s Studio Gamma treat the journal as evidence of weekly design-in-progress, so notes and reflection sit alongside the sketches.
How often should I write in my design journal?
After every studio session, in a few minutes, and within a day of any critique or meeting. Short, frequent entries stay accurate and are easier to keep up than long catch-up sessions before a deadline.
How do I record critique feedback accurately?
Photograph marked-up drawings, take your own notes and, with permission, record the discussion. Then write who said what, what it meant, what you did about it and what it left open. We can turn recordings, transcripts and notes into ILM Records that link each decision to its source conversation.
Sources
- Project Notebooks, WAC Clearinghouse
- The Engineering Design Log, Georgia Tech
- How to write a reflective journal, Virtual Learning Studio
- What Goes In An Architecture Design Journal, ArchiMash
- Process Documentation, NYU Ideation & Prototyping
- Decision Log, Engineering Fundamentals Playbook
- Decision record template, design-system-ops
- Part 4: Journal, University of Melbourne Studio Gamma
- Project Journal, TU Delft
- Project Design Logs, Andrew Woods
- The design decision trail, Attenburrow
- Portfolio: A framework for documenting and disseminating design process